Backup reports
At the end of a backup job, you can configure Xen Orchestra to send backup reports directly by email, Slack or in Mattermost. It's up to you.
Email
Step-by-step
-
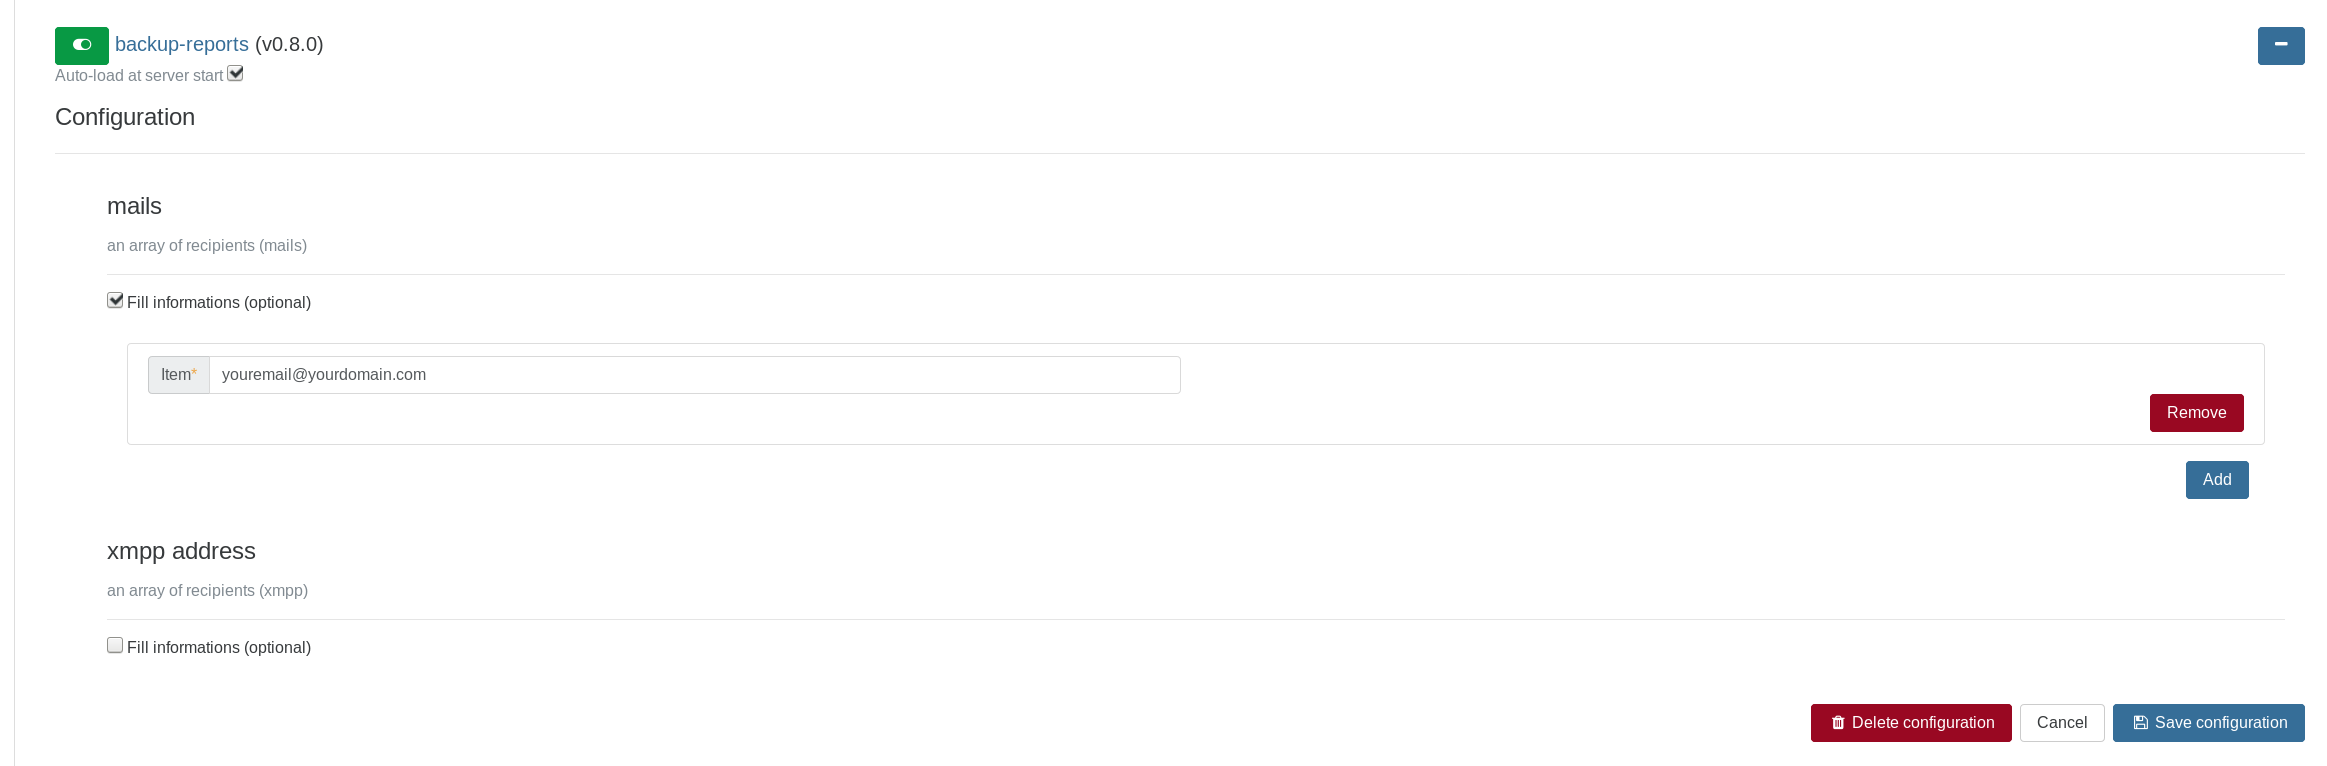
In the Settings → Plugins view, enable and configure the Backup-reports plugin.
-
Configure also the
transport-emailplugin (see detailed configuration below).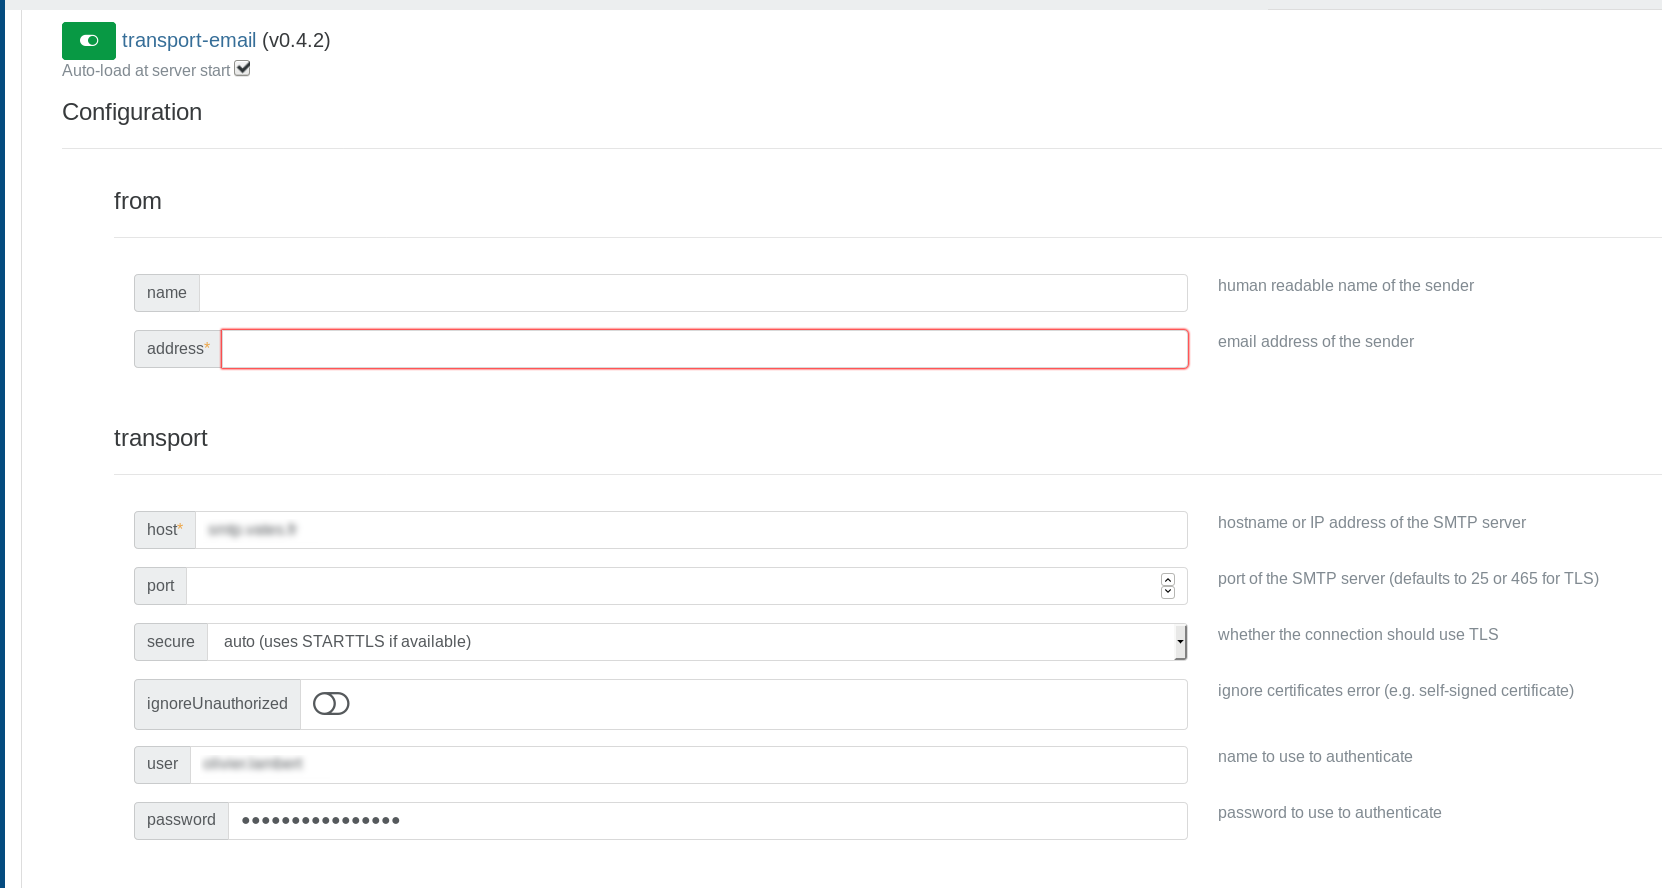
-
Once it's done, you can now create your backup job. In the "report" selection you can choose the situation in wish you want to receive an email (always, never or failure).
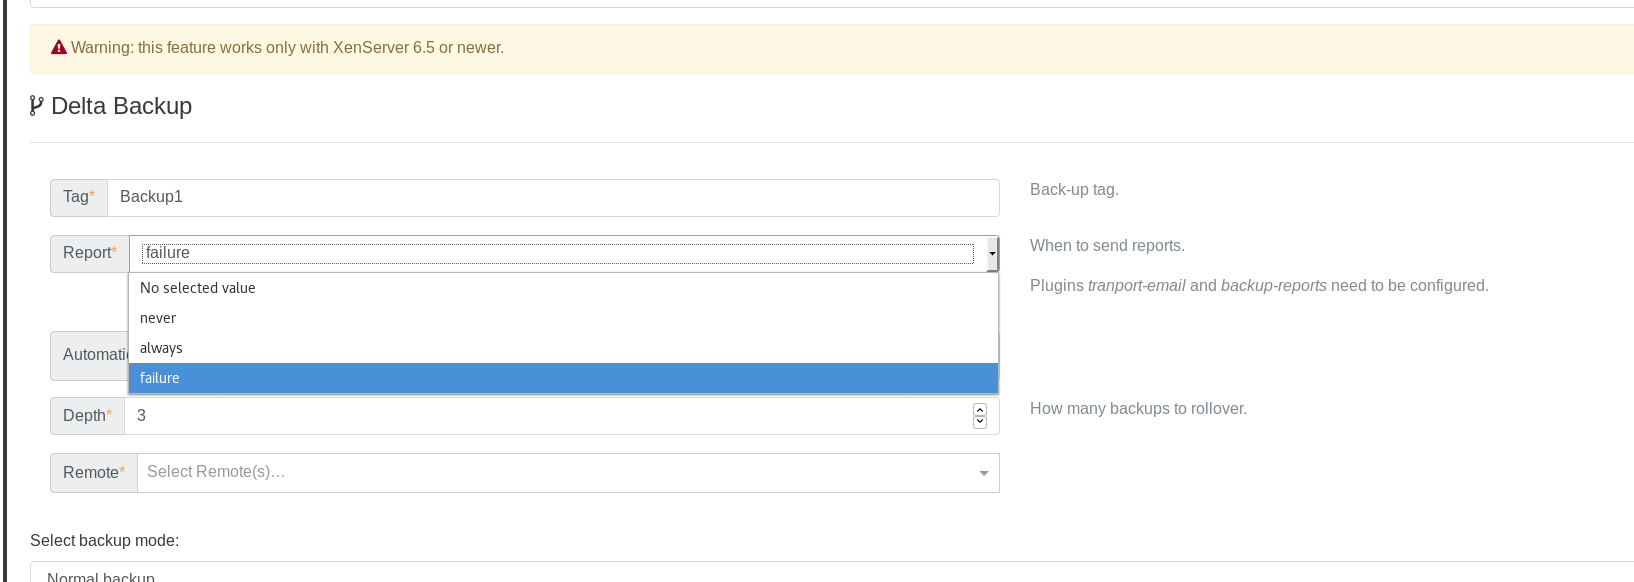
You can also modify existing backup jobs and change the behaviour of the report system.
Email Provider Configuration
Authentication Requirements
- Gmail: Standard passwords no longer work - App Passwords with 2FA are required
- Microsoft 365: Basic authentication still works but will be disabled in March 2026
Gmail Configuration
Gmail users must use App Passwords for SMTP authentication.
Prerequisites:
- Enable 2-Factor Authentication on your Google account.
Steps:
- Enable 2FA: Go to Google Account Security → 2-Step Verification
- Generate App Password: Visit App Passwords → Select "Mail" → Generate
- Configure transport-email plugin:
- Host:
smtp.gmail.com - Port:
587 - Secure:
AutoorSTARTTLS - Username: Your Gmail address
- Password: The 16-character App Password (no spaces)
- Host:
App Passwords are more secure than regular passwords, as they require 2FA and can be revoked individually.
Microsoft 365 Configuration
Current Configuration :
- Host:
smtp.office365.com - Port:
587 - Secure:
STARTTLS - Username: Your Office 365 email
- Password: Your Office 365 password
Microsoft will permanently disable basic authentication between March 1 and April 30, 2026. After this date, your email notifications will stop working
Other SMTP Providers
For providers supporting basic authentication:
- Host: Your SMTP server
- Port:
587(STARTTLS) or465(TLS) - Username/Password: As provided by your service
Network Requirements
The transport-email plugin requires outbound access to:
- Port 587 (SMTP with STARTTLS)
- Port 465 (SMTP over TLS)
- SMTP server addresses (e.g., smtp.gmail.com)
Troubleshooting
Gmail "Authentication failed":
- Ensure you're using an App Password, not your regular password.
- Verify 2FA is enabled
Microsoft 365 "Authentication unsuccessful":
- Check if your organization has disabled SMTP AUTH
- Contact your IT administrator
Connection timeouts:
- Verify firewall allows outbound SMTP
- Test connectivity:
telnet [smtp-server] 587
XMPP
You can be notified via XMPP after the backup task is finished (scheduled "full backup", "snapshots" or "disaster recovery").
To configure it, 2 steps are needed in the plugin section (under "Settings"):
- add a list of recipient(s) for the notifications (in the plugin "backup-reports" and for XMPP)
- set the XMPP server
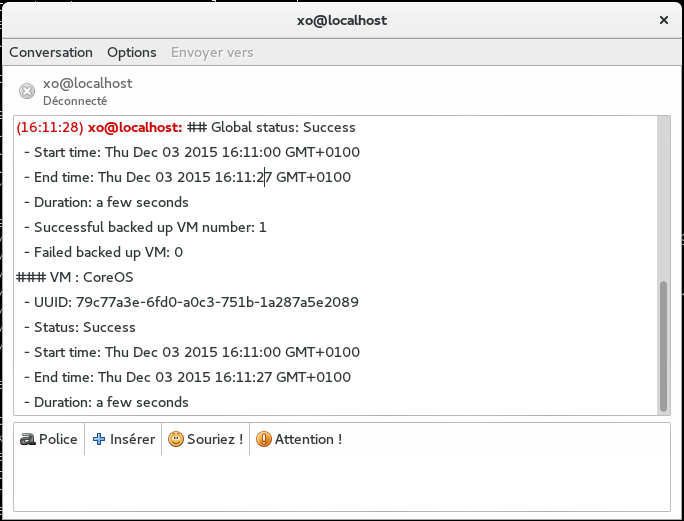
That's it: your next scheduled job will be recapped in a message:
Slack or Mattermost
Xen Orchestra is able to send backup reports to Slack or Mattermost.
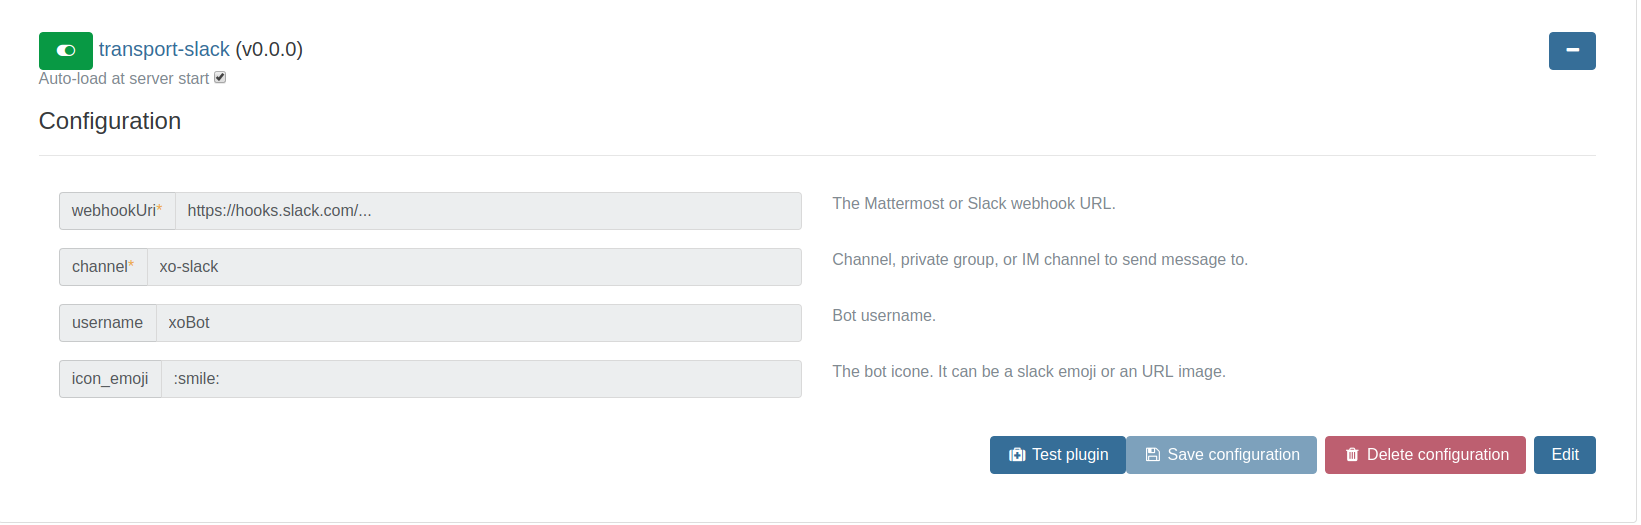
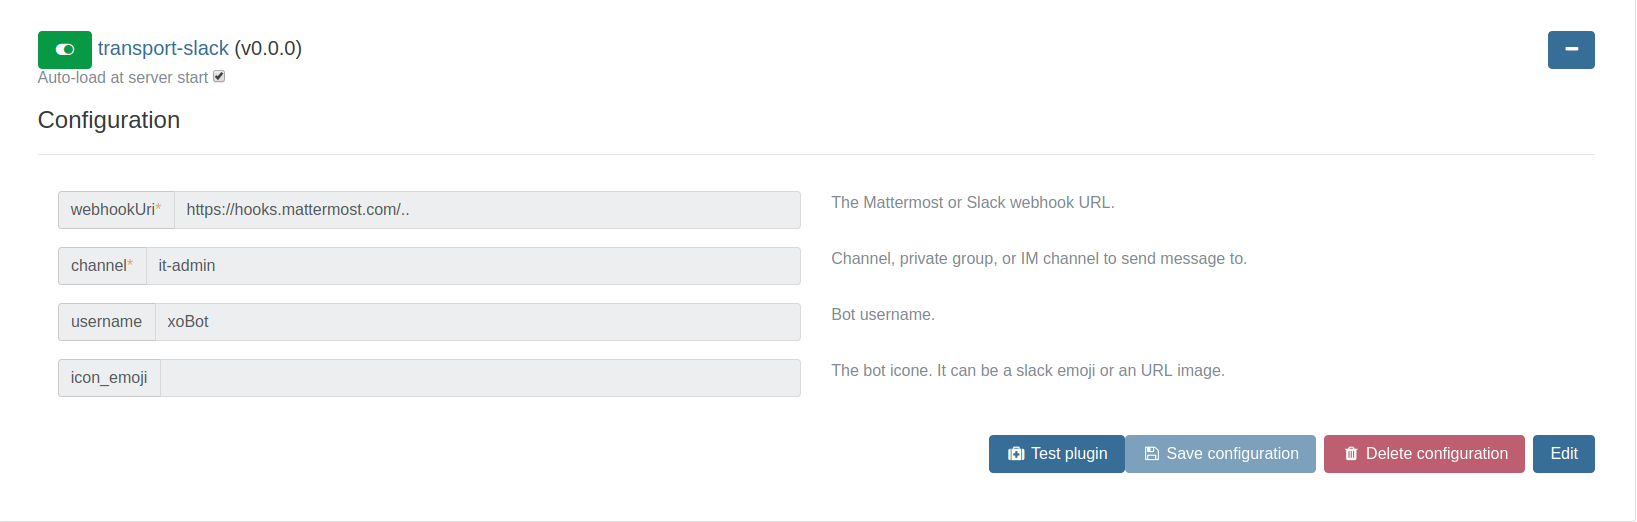
Plugin configuration
Like all other xo-server plugins, it can be configured directly via the web interface, see the plugin documentation.
Generate the Webhook
Slack
-
Log in your Slack team account
-
Click on the Main menu at the top and choose Apps & Integrations

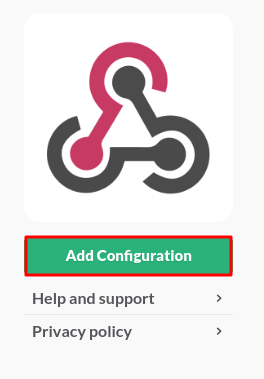
- Search Incoming WebHooks

- Click on Add Configuration
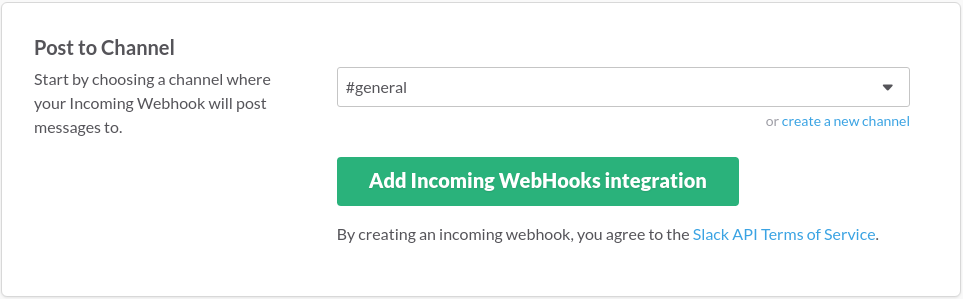
- Choose the default channel and click on Add Incoming WebHooks integration
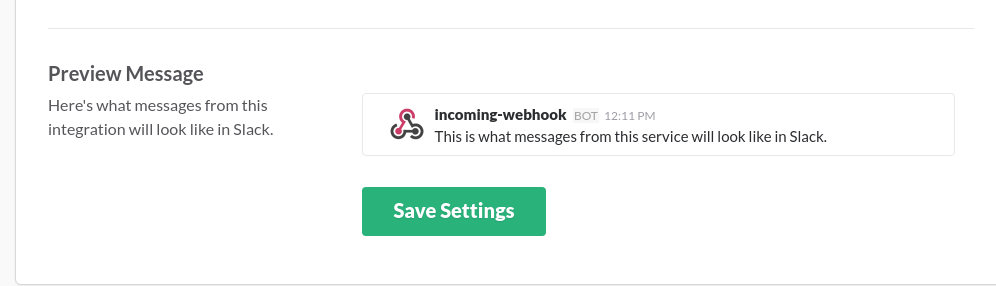
- Modify the default settings and click on Save Settings
Mattermost
You need to be an admin:
- Go into the MatterMost menu, then Integration
- Click on "Add Incoming webhook"
- "Add Incoming Webhook"
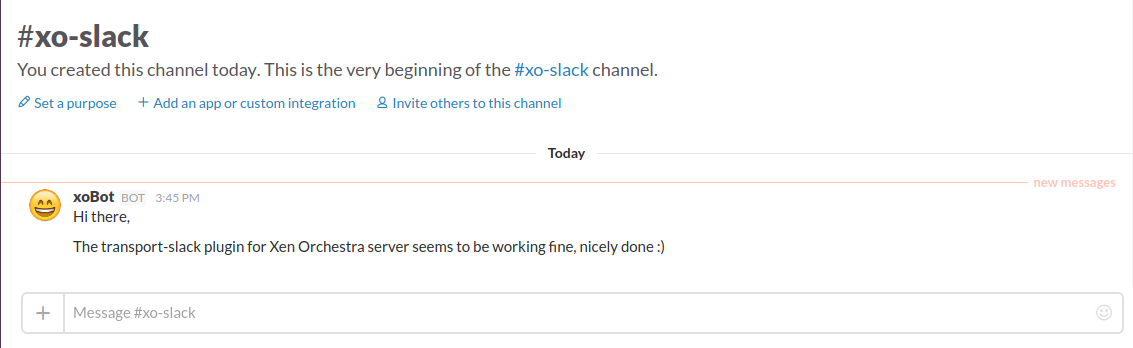
Testing the plugin
Slack
Mattermost

Nagios
The transport-nagios plugin allows you to integrate Xen Orchestra backup reports directly into your Nagios monitoring system.
Instead of relying solely on email notifications, this plugin sends the status of your backup jobs as passive checks to Nagios. This ensures that your infrastructure monitoring dashboard remains the single source of truth for your backup health.
Overview
When a backup job completes, Xen Orchestra sends a report. By using the plugin, the result (Success, Warning, or Error) is pushed to the Nagios command file.
- Success: Sends an
OKstatus. - Warning: Sends a
WARNINGstatus. - Error/Partial Success: Sends a
CRITICALstatus.
Prerequisites
NSCA
In order to contact Nagios, you must have NSCA (Nagios Service Check Acceptor) running on this Nagios host.
NSCA is a Linux/Unix daemon that lets remote systems "push" status updates to a Nagios server as passive checks. It basically acts as a bridge, by sending data from a client to a server-side daemon that feeds the results directly into Nagios's command file.
The architecture is like this:

Check your config file and add a password and a least XOR encryption:
password=mypassword
decryption_method=1
Nagios configuration
1. Create a host for XOA
define host{
        use                     generic-host            ; Name of $
        host_name               xoa
        alias                   Xen Orchestra Appliance
        address                 192.168.0.245
        }
2. Create a dedicated service for XOA backups
define service{
        name                            passif-generic
        use                             generic-service
        service_description             xoabackups
        host_name                       xoa
        active_checks_enabled           0
        passive_checks_enabled          1
        is_volatile                     1
        max_check_attempts              1
        check_freshness                 1
        freshness_threshold             86400
        check_command                   no-backup-report!0!No backup message sent in the last 24 hours
}
This service will wait for XOA to send backup news in the last 24 hours.
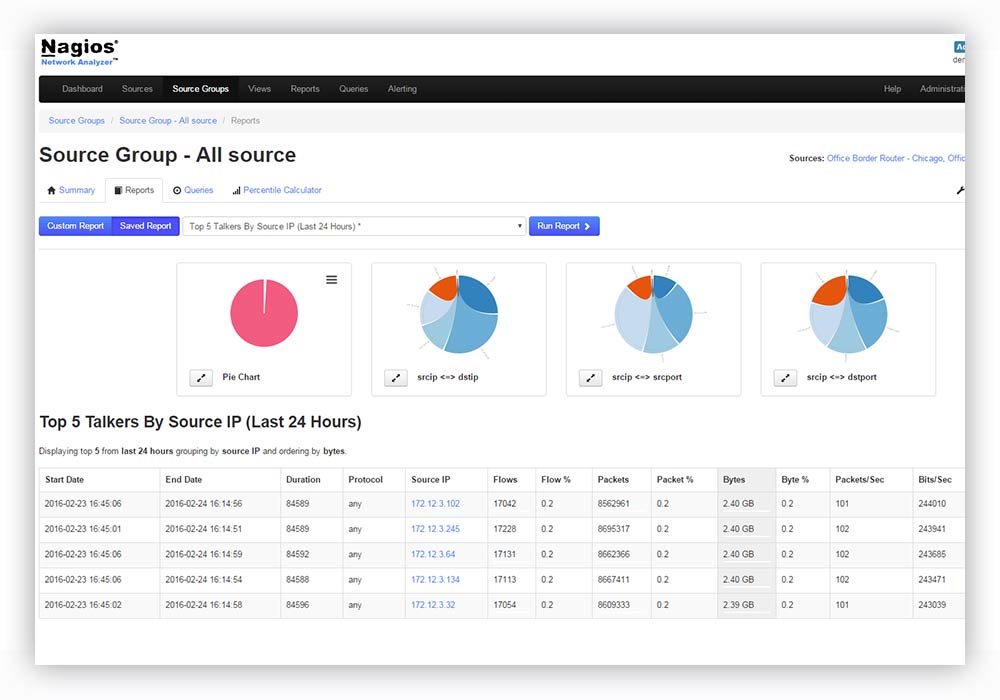
Your Nagios setup is now ready. If the service doesn't have news from XOA, it will be in CRITICAL state, like this:
![]()
Installation in XOA
The plugin is part of the standard Xen Orchestra transport packages.
- Go to Settings → Plugins.
- Locate
transport-nagios. - Toggle the switch to Enabled.
Configuration
Once the plugin is enabled, you need to configure the connection to your Nagios server.
- Click the edit icon (+) for the
transport-nagiosplugin to show the configuration form:
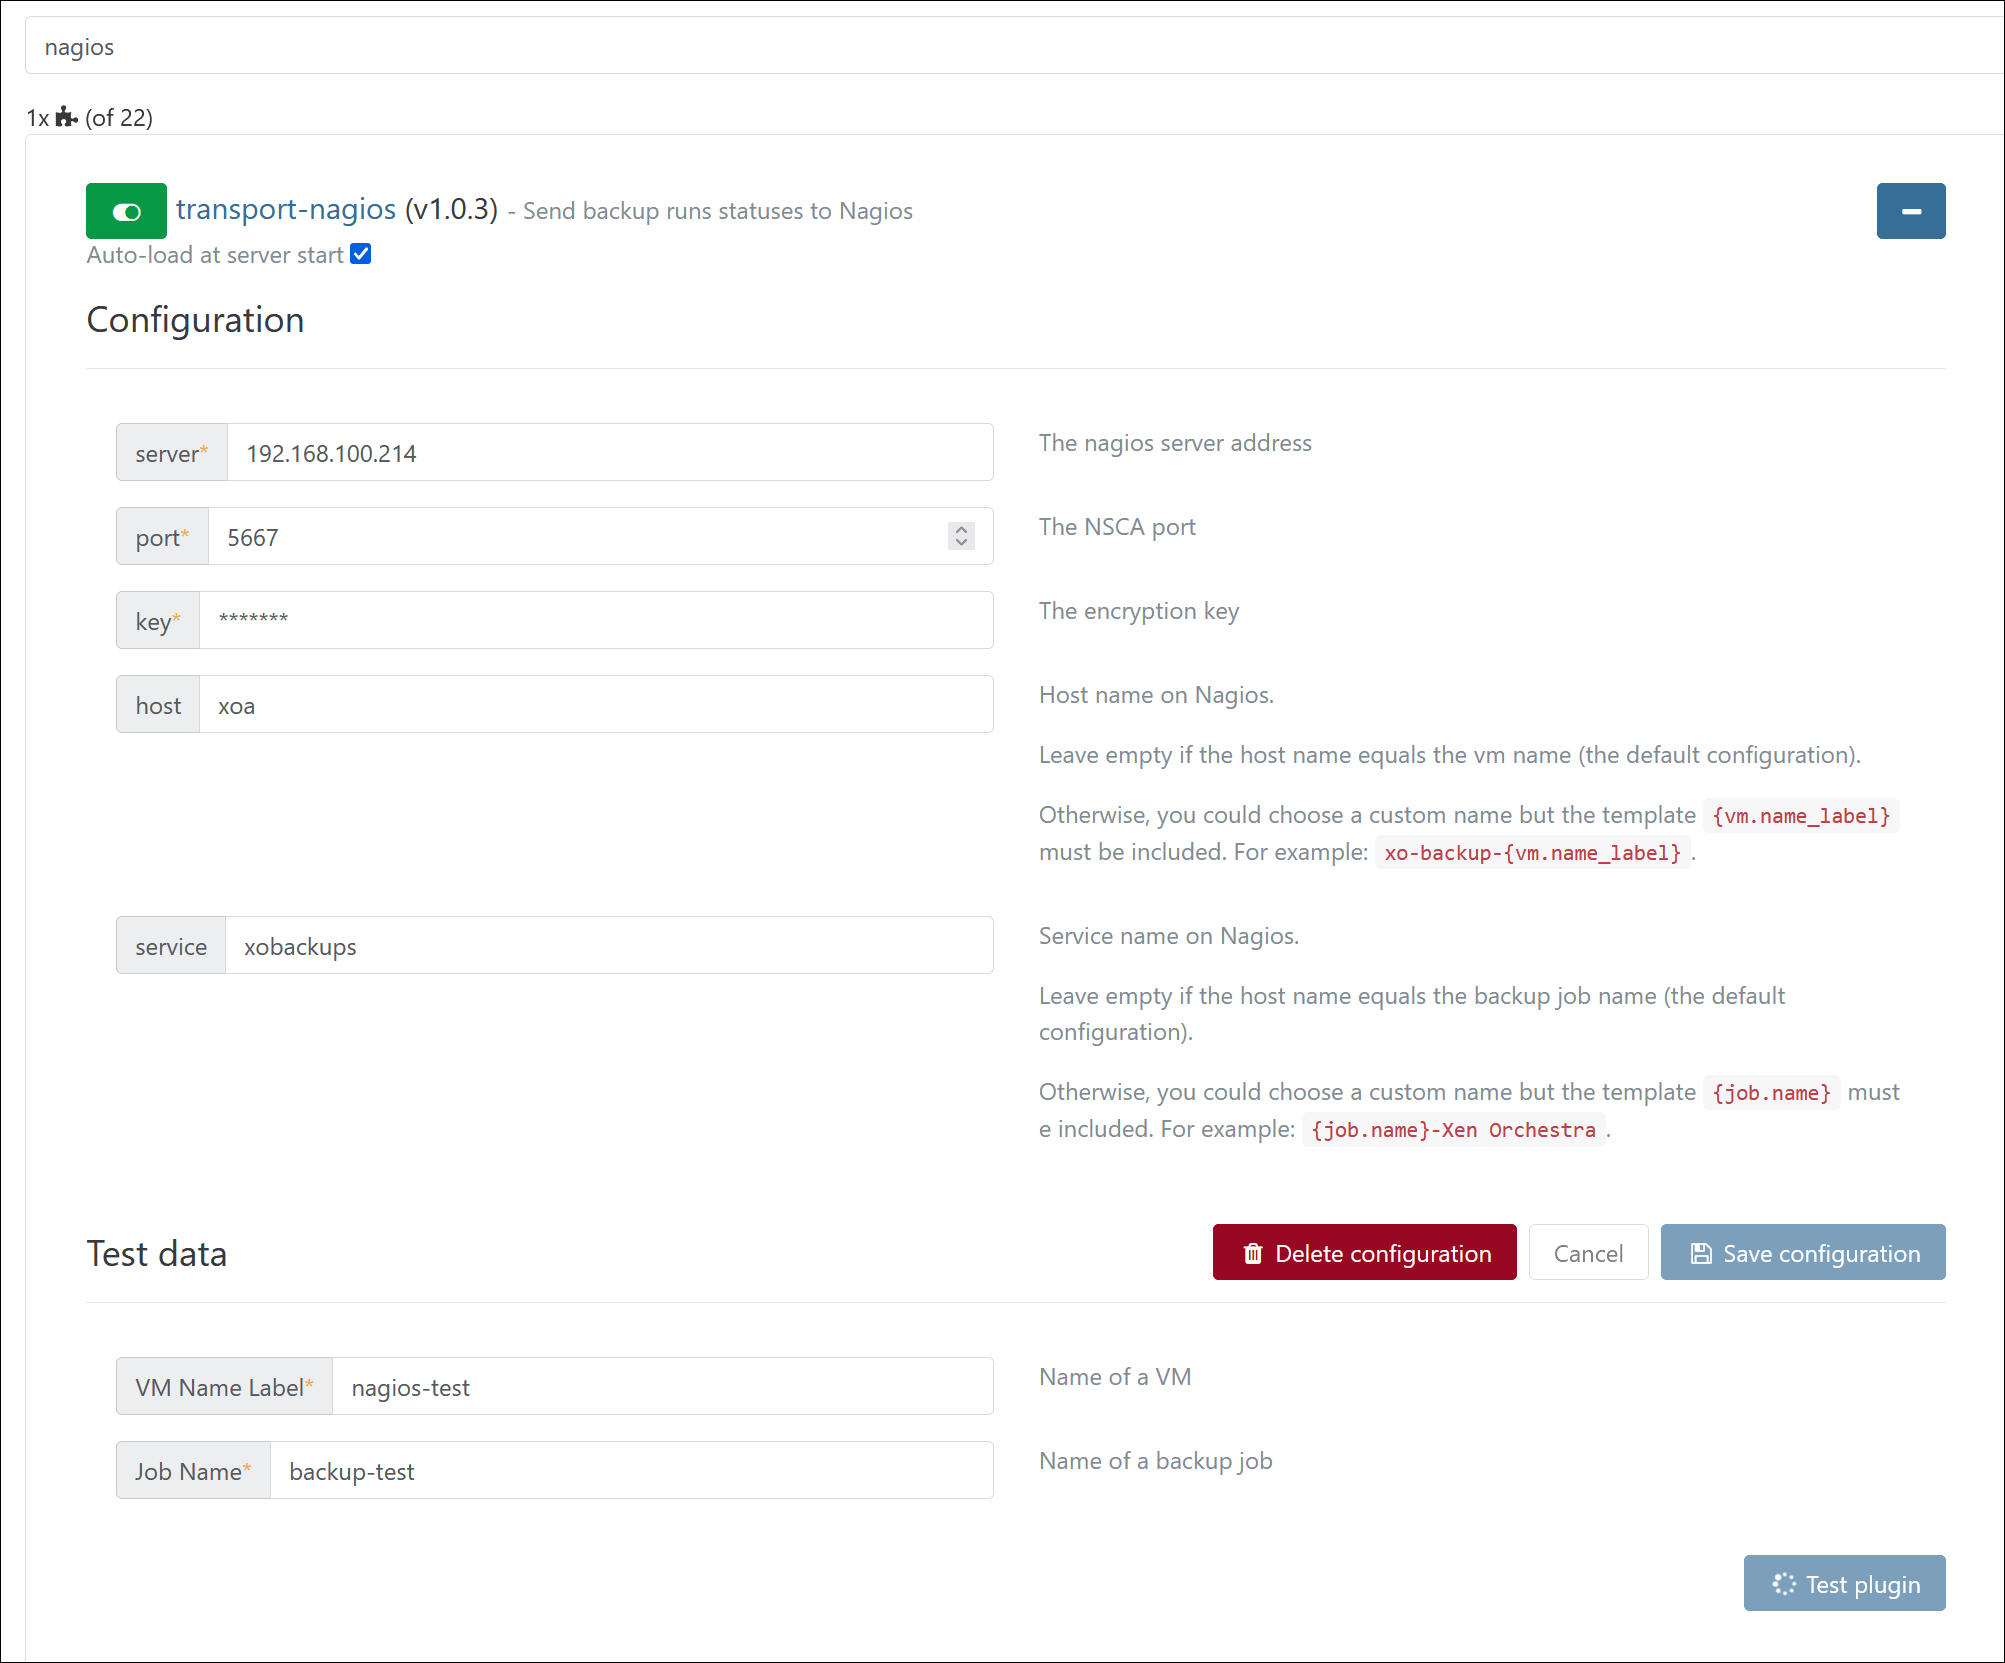
- Enter your desired values.
- Click Save configuration to save and apply your changes.
Test the plugin
In the transport-nagios configuration form, you can test the plugin.
If the plugin works correctly, the result should look like this:
![]()
If your backup was completed successfully, the result should look like this:
![]()
Further resources
Web hooks
You can also configure web hooks to be sent to a custom server before and/or after a backup job runs. This won't send a formatted report but raw JSON data that you can use in custom scripts on your side. Follow the web-hooks plugin documentation to configure it.