Backup proxies
A Xen Orchestra proxy is a small appliance you deploy in your infrastructure to handle the data streams of your backup jobs locally, while your main Xen Orchestra appliance (XOA) keeps orchestrating everything. The two most common reasons to use a proxy are:
- Large infrastructure: spread the backup workload across several appliances and avoid saturating the main XOA
- Remote sites: keep backup data inside the remote site and avoid a useless round trip across the WAN to the main XOA
Architecture
Without a proxy, the main XOA handles every data stream itself. For a remote site, that means the VM export travels all the way to the main XOA, only to be sent right back to a backup repository (BR) sitting next to the pool it came from. With a proxy deployed on the remote site, the data never leaves the site: the proxy exports the VMs and writes to the local BR, and only lightweight control traffic crosses the WAN.
Deployment
Prerequisites
Each deployed proxy needs its own proxy license: see Pricing and available add-ons in the Vates docs. If you have an unused license on your account, it will be bound automatically to the proxy at deployment time.
Minimum Requirements
XO proxies require the following resources:
- 2 vCPUs
- 2 GiB RAM
- 20 GiB disk (2 GiB on a thin provisioned SR)
Installation
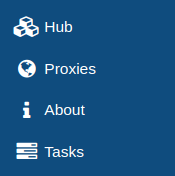
- Go to the Proxies section of your appliance:
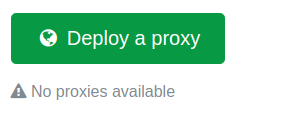
- Click Deploy a proxy:
- Choose where the proxy VM will live: destination SR, destination network and network configuration (DHCP or static):
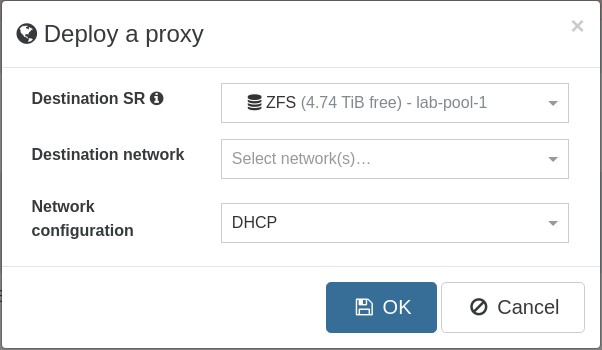
- If you have an available license, it will be automatically bound to your newly deployed proxy.
Backup repository through a proxy
Once a proxy is deployed in your infrastructure, you can create a backup repository (BR) handled by that proxy, using the usual form (still labeled Remotes in XO 5). Simply pick the proxy in the Proxy selector: the proxy will mount the BR itself and handle all data streams to it.
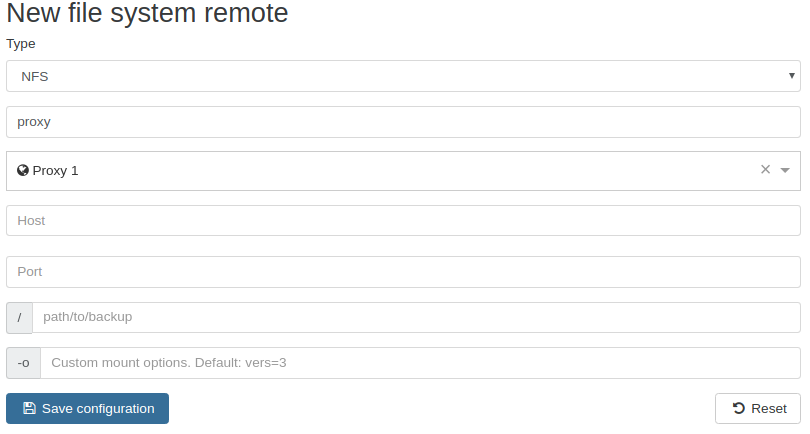
The proxy handling each BR is then visible in the Remotes list:

Backup job with Proxies
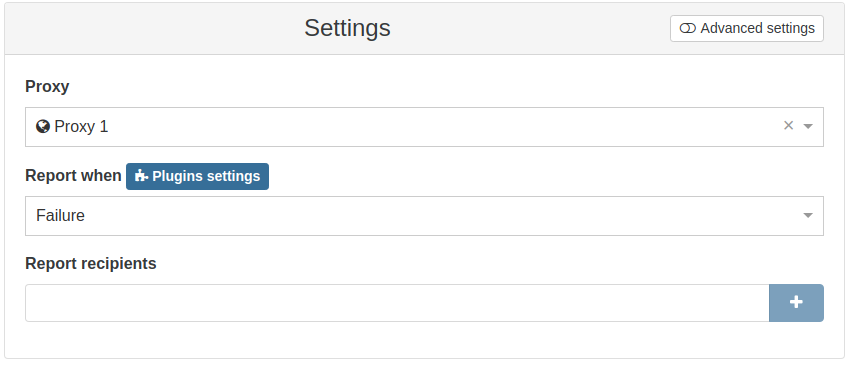
While creating a standard backup job from your main Xen Orchestra appliance, you can select a proxy in the job settings: the proxy will then execute the job and handle its data streams instead of the main appliance.
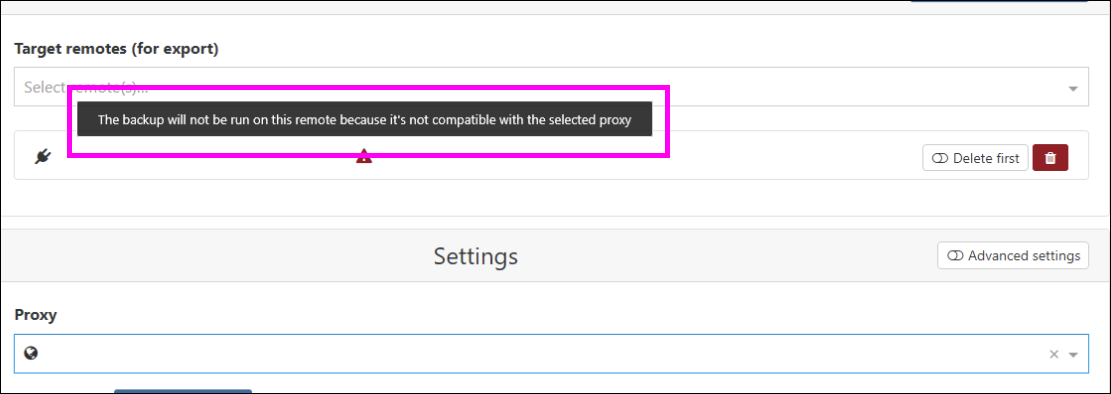
If you see this error: The backup will not be run on this remote because it's not compatible with the selected proxy, it means the selected BR is not handled by the proxy chosen for the job. A proxy can only write to BRs that are bound to it, so either bind that BR to the same proxy, or pick a BR that already is.
Live mount through a proxy
A disk can be live mounted from a BR handled by a proxy, just like from any other BR. Since only the proxy can read that BR, the proxy serves the disk, not the main XOA:
- The hosts connect to the proxy over iSCSI, on a TCP port picked for each mount. If a firewall sits between the hosts and the proxy, that firewall must allow TCP connections from the hosts to the proxy.
- The address provided to the hosts is the proxy's automatically detected address. If the hosts cannot reach it, set the address in the
[iscsi]section of the proxy configuration (/etc/xo-proxy/config.toml), using the sameadvertisedAddressandbindAddresssettings as those configured for XOA. - If ufw is enabled on the proxy, the proxy opens the port of each mount itself, only for the host it is mounted on. This is enabled by default: set
manageFirewall = falsein the same[iscsi]section to turn it off. See Firewall of Xen Orchestra for how the rules behave, including when ufw is changed or the proxy crashes. - The mount lasts as long as the proxy process: restarting or updating the proxy ends it.
- Deleting the live mounted disk, or the VM with its disks, releases the mount, as without a proxy.
If the proxy is too old to support live mount, the restore fails with the proxy … is too old to live mount a disk, upgrade it. In that case, update the proxy.
Enabling login to a proxy appliance
Login is disabled by default on proxy appliances.
If you need to login for some reason, you need to set a password for the xoa user via the XenStore of the VM. Run the following on your XCP-ng host, where UUID is the UUID of your proxy VM:
# xe vm-param-set uuid=<UUID> xenstore-data:vm-data/system-account-xoa-password=<password>
Then restart the proxy VM.
You can now login through SSH with the xoa username and the password you defined in the previous command.
Adding a network card to a Proxy
First you will need to add a second VIF to your proxy VM. This can be done in the Network tab of the VM in XOA.
After adding the VIF, you will need to set an IP address for the new NIC. To do so, SSH to the VM as described before.
If you want a static address:
# xoa network static eth1
? Static IP for this machine 192.168.100.120
? Network mask (eg 255.255.255.0) 255.255.255.0
If you prefer using DHCP:
# xoa network dhcp eth1
As XOA uses the first IP address reported by XAPI to contact the proxy appliance, you may have to switch the network card order if you want your proxy to be connected through a specific IP address.