Pulumi provider
Introduction
Manually managing infrastructure can lead to errors and increased complexity. With Infrastructure as Code (IaC), you describe your infrastructure in code, making it predictable, reproducible, and version-controlled.
Xen Orchestra has an official Pulumi provider, developed on GitHub, with SDKs for TypeScript/JavaScript, Python, Go, and .NET. This guide walks you through deploying a virtual machine (VM) on your Xen Orchestra (XO) instance with Pulumi, then updating it.
Pulumi supports several programming languages, but this guide uses TypeScript. For that language, you need Node.js 20 or newer.
Pulumi's approach lets you use real programming languages to define your infrastructure, offering more flexibility and power than traditional configuration languages.
Prerequisites
- a running Xen Orchestra instance connected to an XCP-ng pool (the provider drives the XO API)
- the Pulumi CLI (3.x) and Node.js 20 or newer installed on your workstation
- a VM template with cloud-init support
- an XO user account or API token for the provider to authenticate with
Installing Pulumi
If you haven't installed Pulumi yet, follow the official Pulumi tutorial to install it on your system.
VM templates in Xen Orchestra
Pulumi needs a starting point to create a VM: a template that already contains an installed operating system with cloud-init capabilities (or Cloudbase-init for Windows), as well as Xen/Guest Tools for better integration with Xen Orchestra.
We recommend the pre-built cloud-init-ready templates from the XOA Hub (Debian, Ubuntu, and others) for optimal results. For more information about templates:
Installing the provider
Create a new directory and initialize a TypeScript project, then add the Xen Orchestra package:
# mkdir xo-pulumi-project
# cd xo-pulumi-project
# pulumi new typescript
# npm install @vates/pulumi-xenorchestra
The provider is also available for the other Pulumi languages: pulumi-xenorchestra on PyPI for Python, github.com/vatesfr/pulumi-xenorchestra/sdk for Go, and Pulumi.Xenorchestra on NuGet for .NET. See the provider repository for the details and the latest release.
Authentication
The provider talks to the XO API over a websocket connection (ws://, or wss:// behind TLS) and supports two methods: an API token (recommended) or a username and password.
Any XO user can create their own API token: see REST API authentication for how to create one.
Never store credentials directly in your code. The recommended method is to use environment variables.
Create a file ~/.xoa in your home directory:
# ~/.xoa
export XOA_URL=wss://your-xo-hostname
export XOA_TOKEN=YOUR_TOKEN
# or, with a username and password:
# export XOA_USERNAME=YOUR_USERNAME
# export XOA_PASSWORD=YOUR_PASSWORD
Then, before running Pulumi, load these variables into your terminal session:
# source ~/.xoa
Alternatively, store the settings in the Pulumi configuration of your stack, with the token encrypted as a secret:
# pulumi config set xenorchestra:url wss://your-xo-hostname
# pulumi config set xenorchestra:token YOUR_TOKEN --secret
Deploying your first VM
Describe your infrastructure
Pulumi needs to know about the existing resources in XO (your pool, template, storage, network). To achieve this, we use the provider's data functions, so you never hardcode UUIDs. Edit the index.ts file and replace its contents with the following, using the exact names of your resources in Xen Orchestra:
import * as pulumi from "@pulumi/pulumi";
import * as xenorchestra from "@vates/pulumi-xenorchestra";

// Retrieve the pool
const pool = xenorchestra.getXoaPool({
    nameLabel: "Main pool",
});

// Retrieve the template
const template = xenorchestra.getXoaTemplate({
    nameLabel: "Ubuntu 24.04 Cloud-Init",
});

// Retrieve the storage repository
const storageRepository = pool.then(p =>
    xenorchestra.getXoaStorageRepository({
        nameLabel: "ZFS",
        poolId: p.id,
    })
);

// Retrieve the network
const network = pool.then(p =>
    xenorchestra.getXoaNetwork({
        nameLabel: "Pool-wide network",
        poolId: p.id,
    })
);
Using explicit nameLabel values is fine for this tutorial. In real-world environments, prefer unique names to avoid conflicts when multiple resources share similar labels.
Now add the VM definition at the end of index.ts:
// Create the VM
const vm = new xenorchestra.Vm("xo-pulumi-tutorial", {
    memoryMax: 2 * 1024 * 1024 * 1024, // 2 GiB
    cpus: 1,
    nameLabel: "XO Pulumi Tutorial",
    template: template.then(t => t.id),
    networks: [
        {
            networkId: network.then(n => n.id),
        },
    ],
    disks: [
        {
            srId: storageRepository.then(sr => sr.id),
            nameLabel: "VM root volume",
            size: 50 * 1024 * 1024 * 1024, // 50 GiB
        },
    ],
});

// Export
export const vmId = vm.id;
export const vmName = vm.nameLabel;
export const ipv4 = vm.ipv4Addresses;
This code describes the VM to be created (its name, memory, and CPUs) and wires it to the template, network, and storage retrieved above.
If your template uses multiple disks, declare the same number of disks in your VM resource, in the same order. Each disk must be at least the same size as its counterpart in the template.
Deploy the VM
It's time to bring the VM to life:
# pulumi up
Pulumi analyzes your code, shows a preview of the changes (+ 2 to create: the stack and the VM), and asks for confirmation. Select yes, and after a few seconds the VM is created on your pool, with the vmId and vmName outputs displayed at the end of the run.
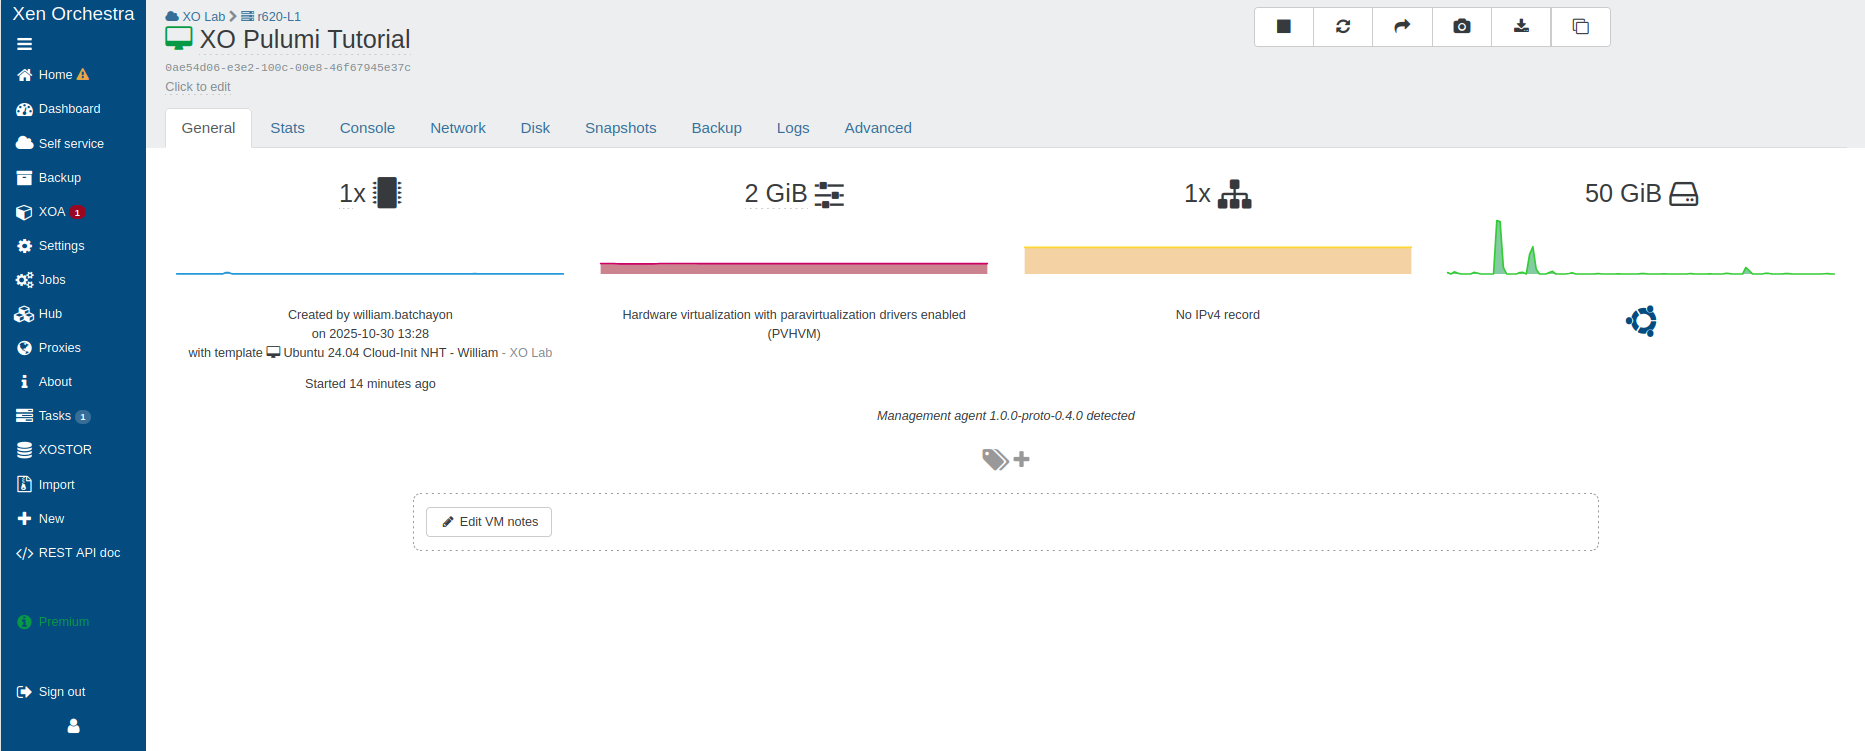
Congratulations! Your VM is now deployed via Pulumi on XO, and any future modification can be reviewed and version-controlled.
Updating an existing infrastructure
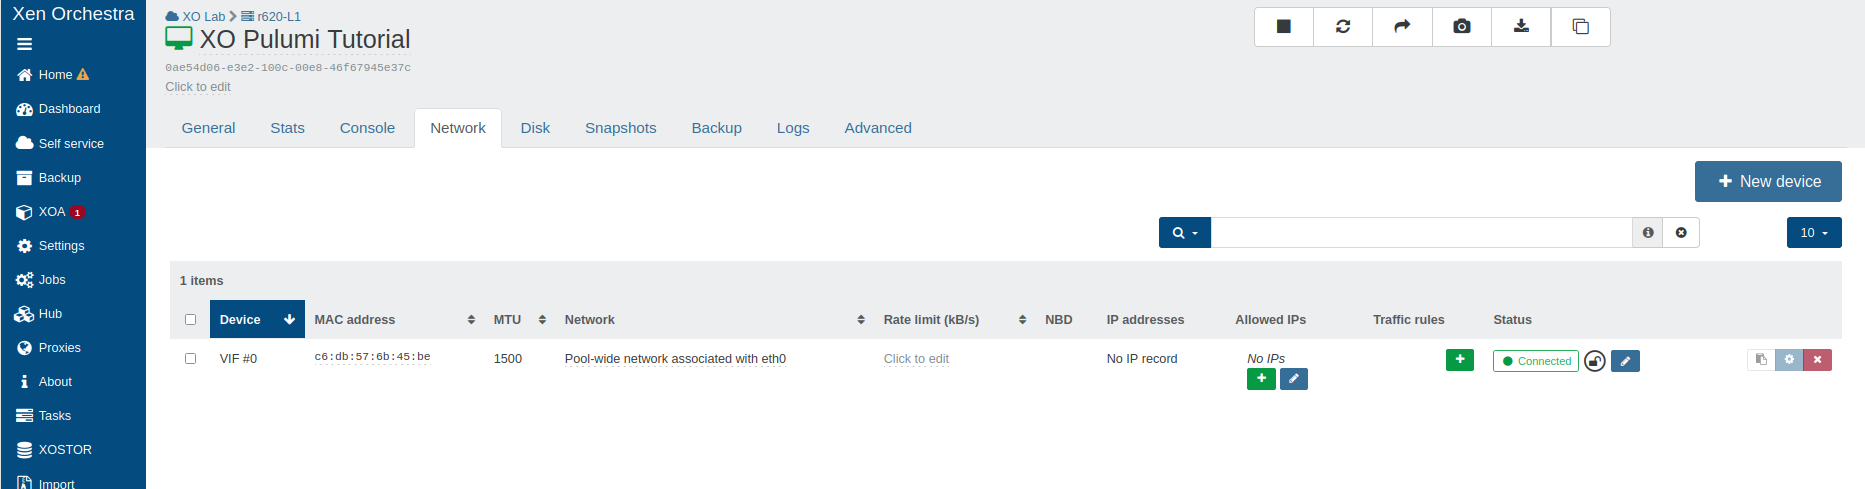
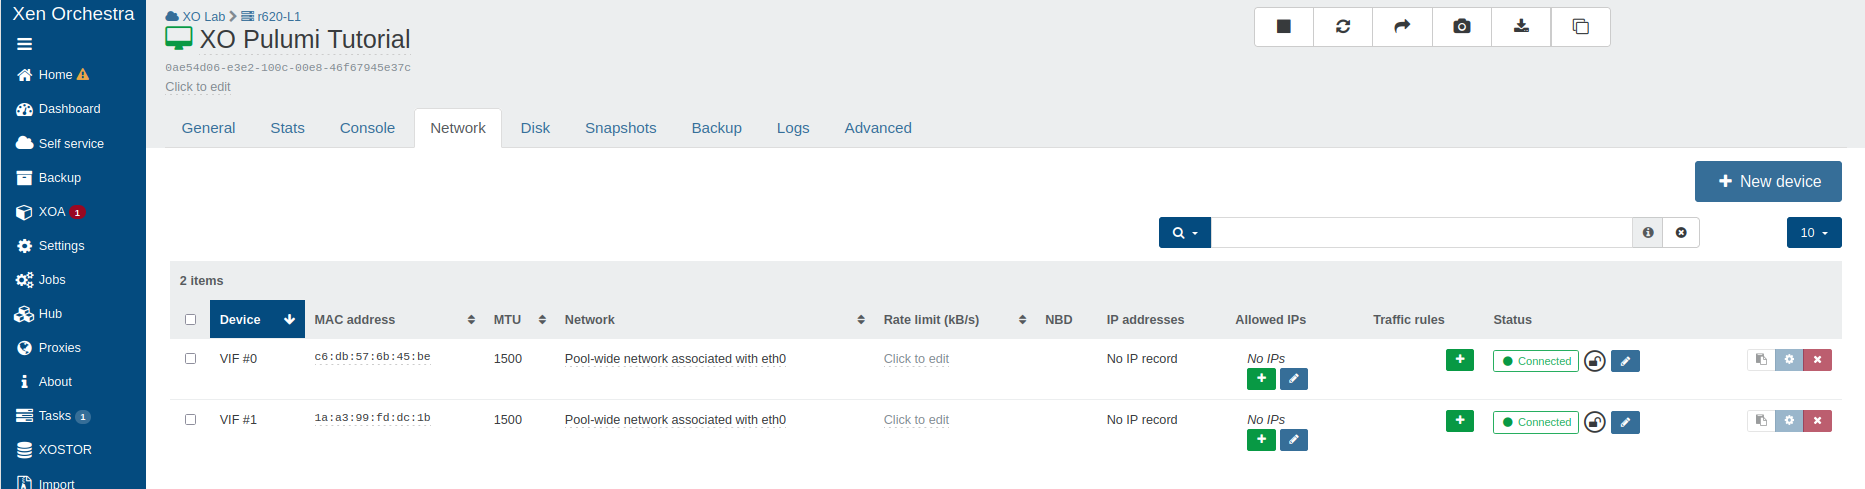
One of Pulumi's greatest strengths is its ability to manage changes throughout your infrastructure's lifecycle. To demonstrate it, let's add a second network interface to the VM we just created: simply add a second entry to the networks array in index.ts.
const vm = new xenorchestra.Vm("xo-pulumi-tutorial", {
    // ... same attributes as before ...
    networks: [
        {
            networkId: network.then(n => n.id),
        },
        // Second network interface
        {
            networkId: network.then(n => n.id),
        },
    ],
    // ... same disks as before ...
});
The workflow is exactly the same as for the creation:
# pulumi up
This time, Pulumi detects that the resource already exists and needs to be modified, not created: the preview shows an update plan with [diff: ~networks]. After you confirm with yes, the new interface is attached to the existing VM.
Debugging and logs
Pulumi supports detailed logging for troubleshooting; the provider's own logs appear in the Pulumi output when debug mode is enabled:
# pulumi up --debug
# pulumi up --logtostderr -v=9
Only enable debug logging when troubleshooting, as it significantly increases log verbosity and may impact performance.
Best practices
State management
Pulumi state contains sensitive information about your infrastructure. Always use a secure backend, such as a self-hosted solution or local encrypted storage.
# pulumi login --local              # local storage in your home directory
# pulumi login s3://my-pulumi-state # or any self-hosted backend (s3, gs, azblob)
Going further
This guide only scratches the surface: the provider also manages cloud-init configuration, extra disks, tags, networks, and more. The provider repository is the reference for all resources, data functions, and releases, and its examples directory covers each supported language.
Commercial support: contact our support team through your customer portal.
Community support: