Terraform provider
Introduction
Managing infrastructure by hand is error prone and hard to audit. With Infrastructure as Code (IaC), you describe your infrastructure in configuration files to make it predictable, reproducible, and version-controlled.
Xen Orchestra has an official Terraform provider, vatesfr/xenorchestra, published on the Terraform registry and developed on GitHub. This guide walks you through deploying a VM on your Xen Orchestra (XO) instance with Terraform, then updating it.
This guide works with both Terraform and OpenTofu, the community-driven fork that maintains compatibility with Terraform.
Terraform's two-step workflow (plan then apply) gives you full control: you preview every change before applying it, for safe and predictable deployments.
Prerequisites
- a running Xen Orchestra instance (5.50.1 or newer) connected to an XCP-ng pool
- Terraform or OpenTofu installed on your workstation
- a VM template with cloud-init support
- an XO user account or API token for the provider to authenticate with
Installing Terraform
If you haven't installed Terraform yet, follow the official HashiCorp tutorial, or the OpenTofu installation guide. Any recent release works: the provider itself supports Terraform 0.12 and newer.
VM templates in Xen Orchestra
Terraform needs a starting point to create a VM: a template that already contains an installed operating system with cloud-init capabilities (or Cloudbase-init for Windows), as well as Xen/Guest Tools for better integration with Xen Orchestra. This enables automatic customization during deployment: IP assignment, hostname configuration, and so on.
We recommend the pre-built cloud-init-ready templates from the XOA Hub (Debian, Ubuntu, and others) for optimal results. For more information about templates:
Installing the provider
Declare the provider in a file named provider.tf:
# provider.tf
terraform {
  required_providers {
    xenorchestra = {
      source  = "vatesfr/xenorchestra"
      version = "~> 0.40"
    }
  }
}
Version 0.40.0 is the latest at the time of writing. Check the registry page for the current version and release notes.
Then initialize your working directory:
# terraform init
Terraform downloads the provider from the registry and ends with Terraform has been successfully initialized!. It also creates a .terraform.lock.hcl lock file: commit it to version control so every run uses the same provider version.
Authentication
The provider talks to the XO API over a websocket connection (ws://, or wss:// behind TLS) and supports two methods: an API token (recommended) or a username and password. When a token is provided, it takes precedence and the username and password are ignored.
Any XO user can create their own API token: see REST API authentication for how to create one.
Never store credentials directly in your code. The recommended method is to use environment variables.
Create a file ~/.xoa in your home directory:
# ~/.xoa
export XOA_URL=wss://your-xo-hostname
export XOA_TOKEN=YOUR_TOKEN
# or, with a username and password:
# export XOA_USER=YOUR_USERNAME
# export XOA_PASSWORD=YOUR_PASSWORD
Then, before running Terraform, load these variables into your terminal session:
# source ~/.xoa
The same settings can be passed in the provider block instead, which is useful when the values come from Terraform variables or a secrets manager:
provider "xenorchestra" {
  url   = "wss://your-xo-hostname" # must be ws:// or wss://, or set XOA_URL
  token = var.xoa_token            # or set XOA_TOKEN
  # username/password authentication is also supported (username/password
  # arguments, or the XOA_USER and XOA_PASSWORD environment variables),
  # and insecure = true skips TLS verification (XOA_INSECURE)
}
Deploying your first VM
Describe your infrastructure
Terraform needs to know about the existing resources in XO (your pool, network, storage, template). For that, we use data blocks: read-only queries that fetch existing information, so you never hardcode UUIDs.
Create a file named vm.tf and add the following code, replacing the name_label values with the exact names of your pool, template, storage repository, and network in Xen Orchestra:
# vm.tf

data "xenorchestra_pool" "pool" {
  name_label = "Main pool"
}

data "xenorchestra_template" "vm_template" {
  name_label = "Ubuntu 24.04 Cloud-Init"
}

data "xenorchestra_sr" "sr" {
  name_label = "ZFS"
  pool_id    = data.xenorchestra_pool.pool.id
}

data "xenorchestra_network" "network" {
  name_label = "Pool-wide network"
  pool_id    = data.xenorchestra_pool.pool.id
}
At this stage you can already run terraform plan: it should end with No changes. Your infrastructure matches the configuration., which confirms that Terraform can reach XO and found every declared resource. In real environments, prefer unique names for your resources to prevent conflicts when several share similar labels.
Now add the VM definition at the end of vm.tf (or in a separate resources.tf):
resource "xenorchestra_vm" "vm" {
  memory_max = 2147467264
  cpus       = 1
  name_label = "XO terraform tutorial"
  template   = data.xenorchestra_template.vm_template.id

  network {
    network_id = data.xenorchestra_network.network.id
  }

  disk {
    sr_id      = data.xenorchestra_sr.sr.id
    name_label = "VM root volume"
    size       = 50214207488
  }
}
This resource block describes the VM to be created (its name, memory, and CPUs) and wires it to the template, network, and storage found by the data sources.
If your template uses multiple disks, declare the same number of disks in your VM resource, in the same order. Each disk must be at least the same size as its counterpart in the template.
Plan and apply
It's time to bring the VM to life:
# terraform plan
# terraform apply
terraform plan analyzes your code and shows what it is about to do: the run should end with Plan: 1 to add, 0 to change, 0 to destroy., with the full detail of the xenorchestra_vm.vm resource to be created. If the plan looks good, terraform apply shows it again and asks for confirmation: type yes and press Enter, and the VM is created on your pool.
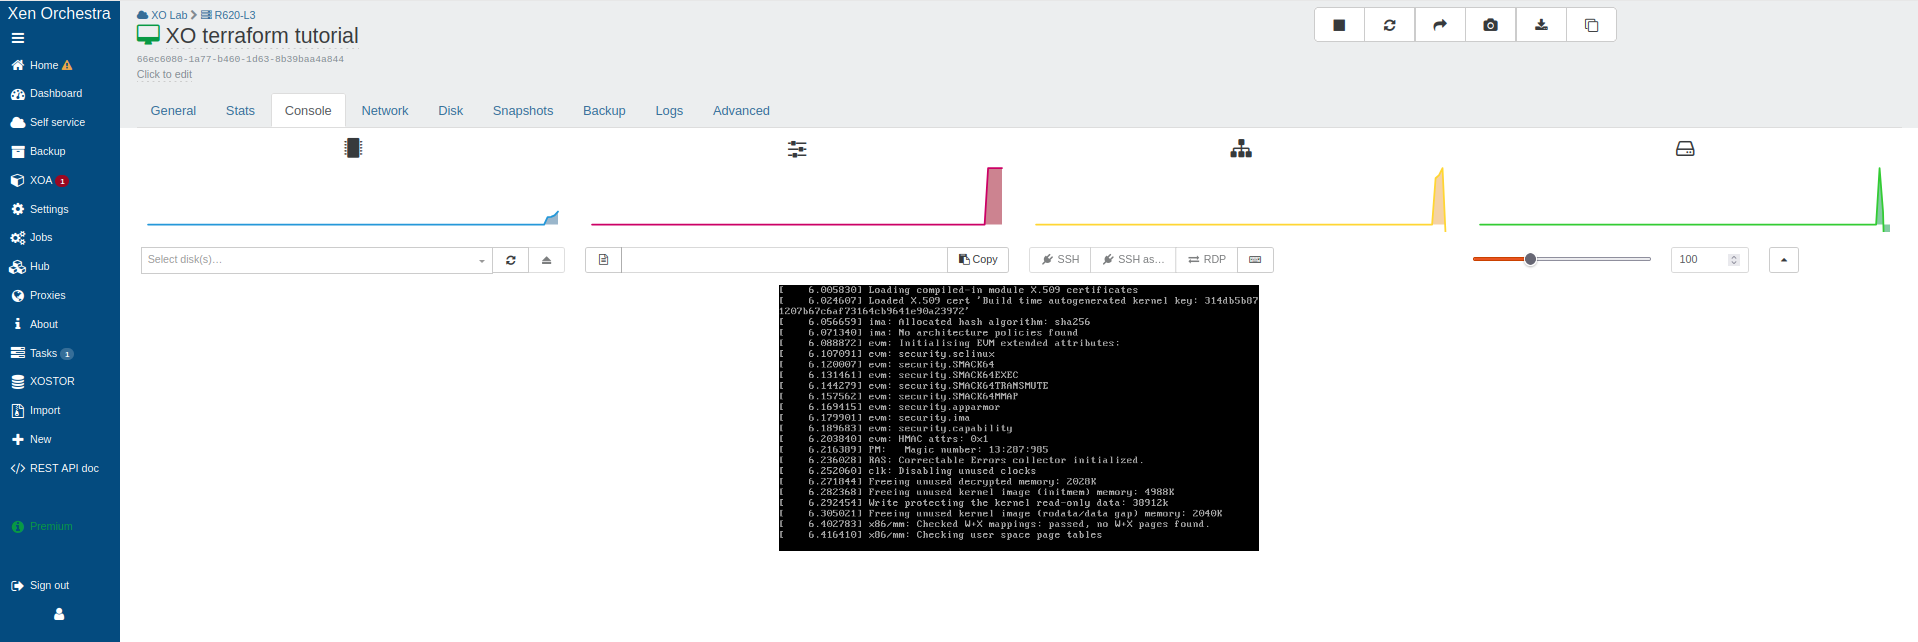
Congratulations! Your VM is now deployed via Terraform on XO, and any future modification can be reviewed and version-controlled.
Updating an existing infrastructure
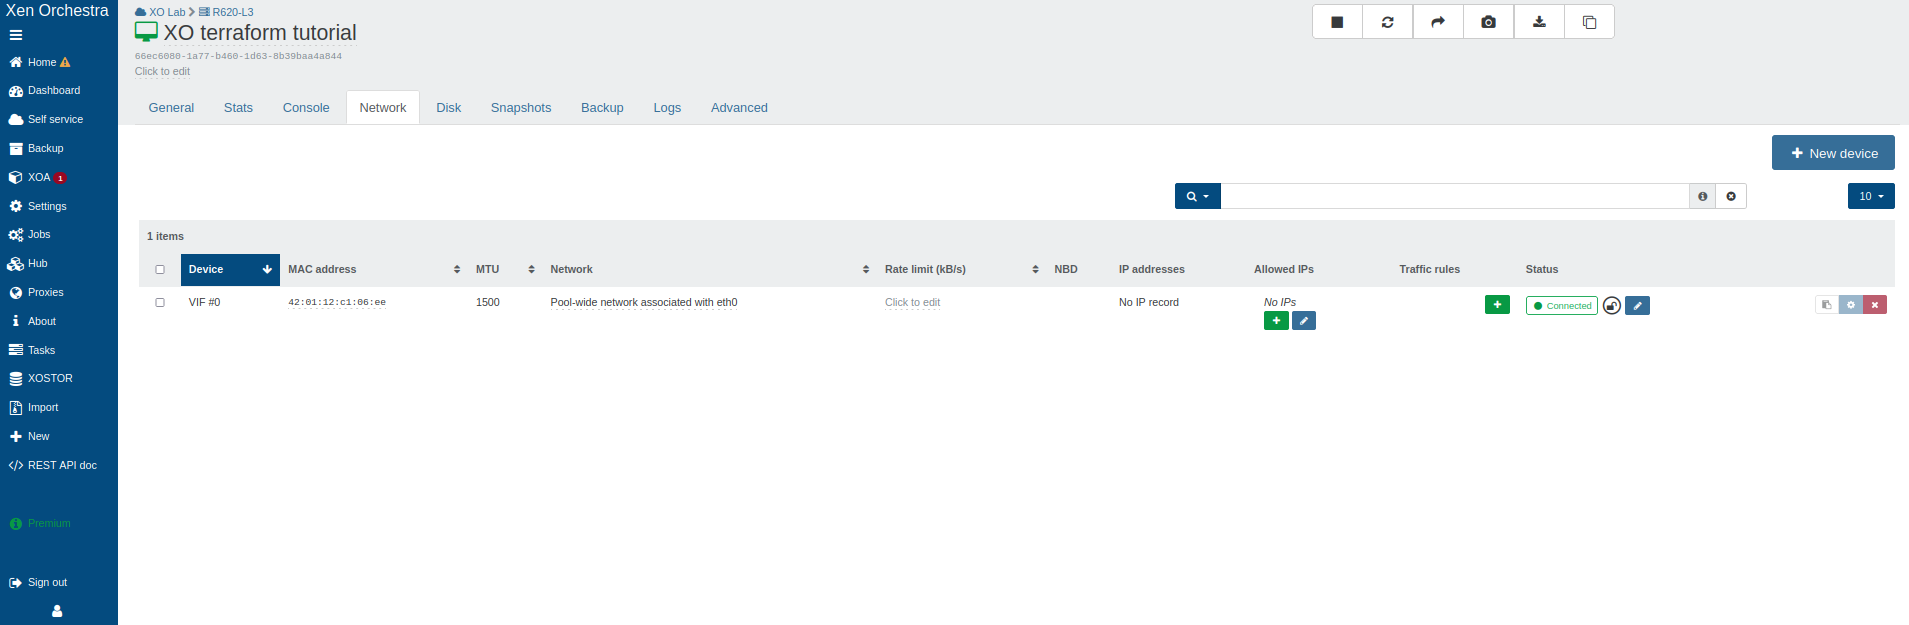
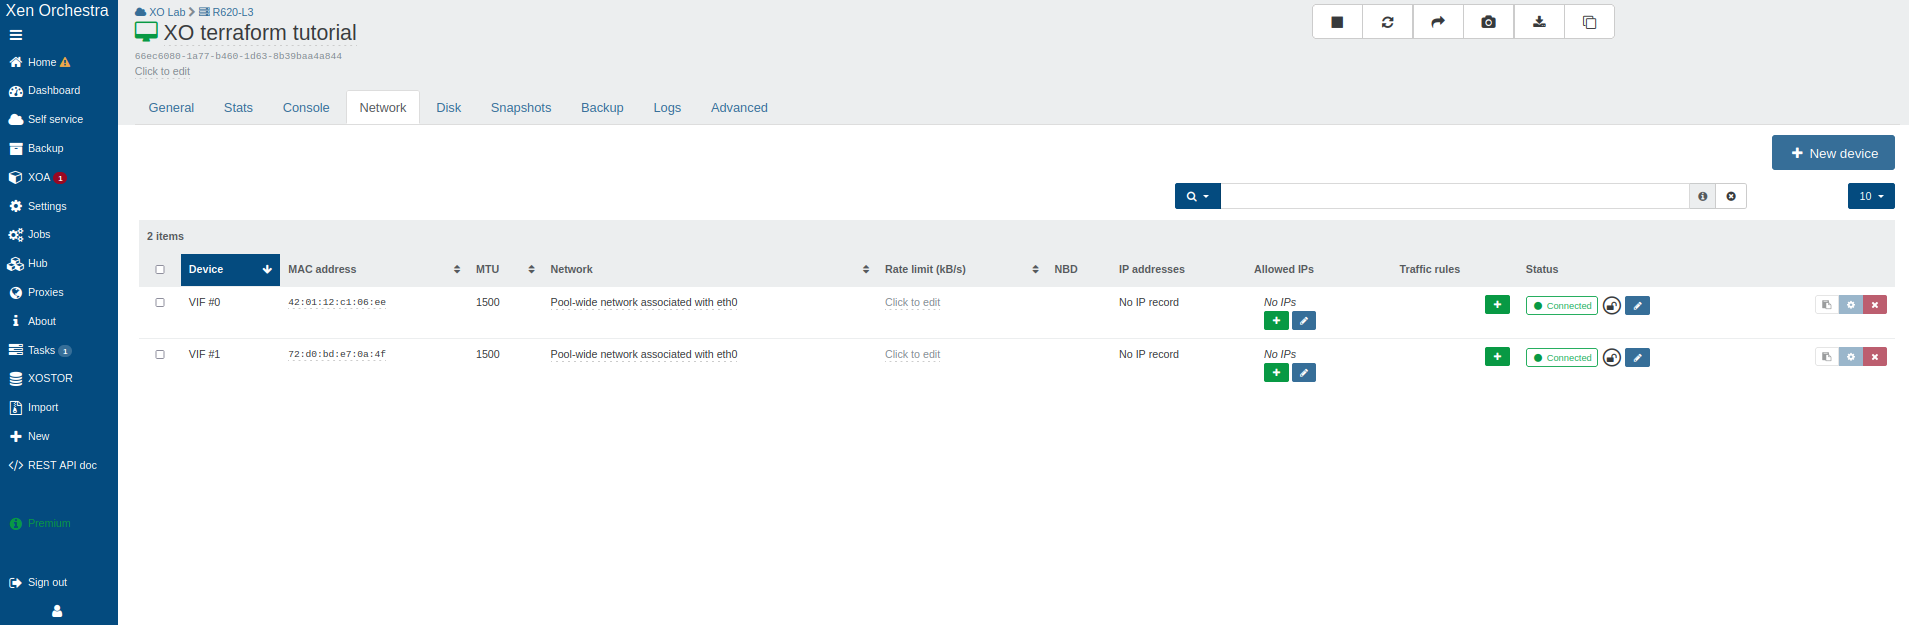
One of Terraform's greatest advantages is its ability to manage changes throughout the entire lifecycle of your infrastructure. To demonstrate it, let's add a second network interface to the VM we just created: simply add a second network block to the VM definition in vm.tf.
resource "xenorchestra_vm" "vm" {
  # ... same attributes as before ...

  # First network interface
  network {
    network_id = data.xenorchestra_network.network.id
  }

  # Second network interface
  network {
    network_id = data.xenorchestra_network.network.id
  }

  # ... same disk block as before ...
}
The workflow is exactly the same as for the creation:
# terraform plan
# terraform apply
This time, Terraform detects that the resource already exists and needs to be modified, not created: the plan shows the new network block with a ~ update in-place action and ends with Plan: 0 to add, 1 to change, 0 to destroy.. After you confirm with yes, the new interface is attached to the running VM.
Debugging and logs
The provider supports detailed logging for troubleshooting, controlled by the TF_LOG_PROVIDER environment variable (valid levels: TRACE, DEBUG, INFO, WARN, ERROR). Add TF_LOG_PATH to save the logs to a file:
# export TF_LOG_PROVIDER=DEBUG
# export TF_LOG_PATH=./terraform.log
# terraform apply
Only enable debug logging when troubleshooting, as it significantly increases log verbosity and may impact performance.
Going further
This guide only scratches the surface: the provider also manages cloud-init configuration, extra disks and VDIs, networks, ACLs, resource sets, and more. The provider documentation on the Terraform registry is the reference for every resource and data source, and is always up to date with the latest release.
Commercial support: contact our support team through your customer portal.
Community support: