Replace your XOA
Replacing your appliance with a fresh one takes three steps: deploy the new XOA, export the configuration of the old one, and import it into the new one. Everything follows: users, ACLs, connected pools, backup jobs, remotes and settings.
Why replace it?
- To get a fresh appliance, not just fresh XO code. The updater keeps Xen Orchestra itself current, but the appliance around it (Debian system, kernel, Node.js runtime) ages like any VM. Redeploying gives you the latest base system in one move.
- Because you lost it. XOA failure is not an emergency: your hosts and VMs keep running without it, and a fresh appliance plus a configuration import puts you back exactly where you were, in minutes. Many people do not realize how disposable the appliance is: treat it as cattle, not as a pet.
- To move it: new pool, new storage, new site. Deploy where you want it, import, delete the old one.
Export your configuration regularly (and after any significant change): it is a small file, and it turns any XOA loss into a ten-minute non-event.
Deploy the new appliance
Deploy a new XOA next to the old one, as described in Installation.
Export the configuration
On the old appliance, go to Settings → Config and click Download current config:
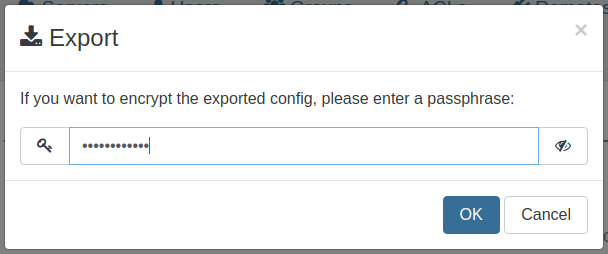
You can set a passphrase to encrypt the exported file.
Import the configuration
On the new appliance, go to Settings → Config and drag and drop the exported file into the Import section:
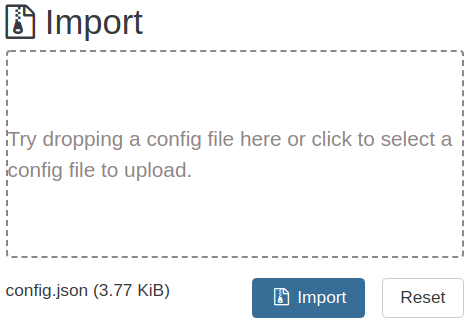
Click to import: a modal asks for the passphrase (leave it empty if you did not set one). Once the import finishes, the new appliance takes over with your complete configuration.
Manual edits made to /etc/xo-server/config.toml on the old appliance are not part of the exported configuration: re-apply them on the new one (see Configuration).